8 Easy Steps to Deep Fry a Turkey Correctly
Deep Fryin’ Turkey Done Right.
If you're looking for a new way to cook your turkey this Thanksgiving holiday, deep frying might be the way to go. Our crew has been deep fryin’ our birds for the past 10+ years and we have this process down to an art. If you are thinking of trying to deep fry a turkey this year, want to make sure you do it better than last year, or are hoping to avoid a Clark Griswold dry bird fiasco, this is the best guide to gettin’ it done.
Deep frying a turkey can result in a turkey that is both juicy and flavorful- but it has to be done safely and correctly. Deep frying a turkey is relatively fast, easy, and fun way to cook a large bird and free up the oven this holiday. Let’s dive into the steps and process for getting the best turkey in the neighborhood.
***This post is meant to be informational only. We can’t control what you do or don’t, so fry at your own risk!
What you need:
Turkey (15 to 18 lbs.)
2 Pans (1 for pre/post cook)
Paper Towels, Latex Gloves, and Cardboard Boxes
Average cost for total supplies: $238 +/-
01 | Prepping the Deep Fryer:
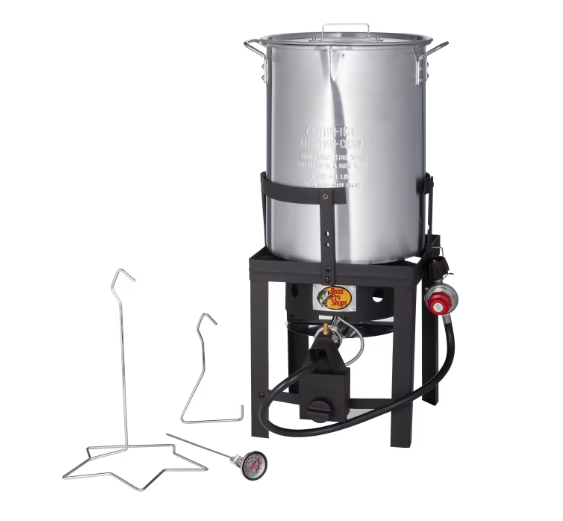
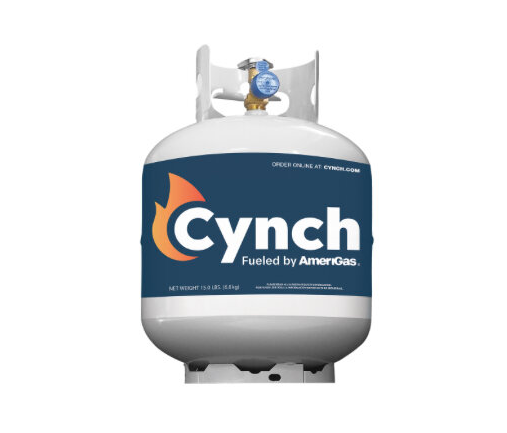
Step 1: Once the deep fryer is assembled, place flattened cardboard boxes on the surface area of where you will be deep frying. We ballpark a good 3 feet of room in a 360 degree circle to ensure any popping oil doesn’t land on the ground around you. Place the deep fryer and propane tank on the cardboard with the tank as far away as the connecting hose allows.
Tip: Deep fry away from the house, not under any coverings, and for double safety, water any nearby foliage and ground area that could catch fire.
Step 2: Before firing up the Deep Fryer, place the frying pot on stable ground and with the turkey still in the sealed wrapped bag, place inside the pot. Fill the pot with hose water until the top of the bird is barely sticking above the water. Remove the turkey and where the water line regresses in the pot, mark that on the pot as your “max oil fill line.”
Tip: Accommodate for the turkey when filling a pot with oil! Do not overfill the pot as you run the risk of oil going over the pot into the fire below.
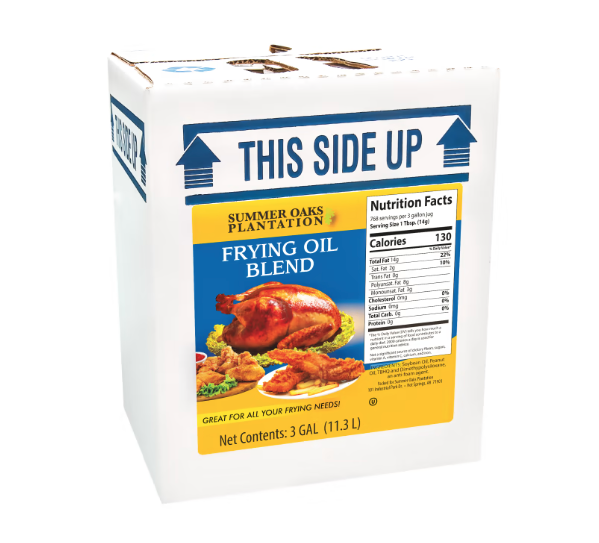
Step 3: Dry the pot completely with paper towels, fill with deep fry oil to the pre-measured fill line, and begin heating the pot and oil. We typically crank up the heat to “high” so we can bring the deep fry oil to around 375 -400 degrees.
Tip: Heat oil to around 375-400 degrees as you will lose heat when placing a cold turkey into the pot.
02 | Prepping the Bird:
Step 4: Make sure the bird is entirely thawed out- any frozen sections or remaining ice will “pop” in the oil, causing a chance of igniting the flame below. Rinse bird out in warm water, inside and out, ensuring that there is no ice or random turkey parts remaining (even ensure the bag of gizzards is removed). If the turkey has an internal plastic temperature reader, remove it.
Step 5: Dry the bird with the paper towels, inside and out, ensuring that you have got any excess water dried as best you can. This helps to reduce the amount of “popping” when the turkey is placed in the pot.
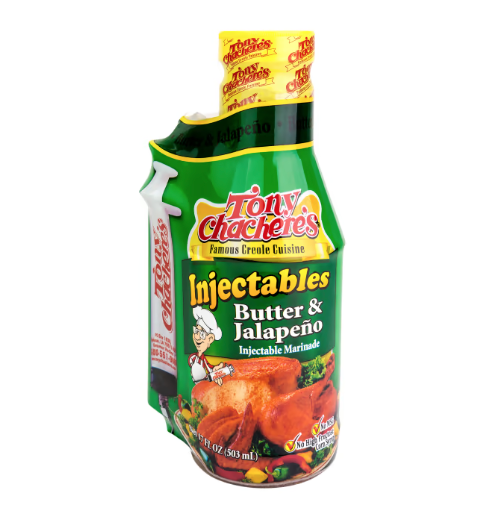
Step 6: Then, inject the bird on all sides with Creole Butter Seasoning. This is important to ensure the bird is juicy when done. We try to hit all sides and meat sections of the bird. Go for it and don’t skimp out on how much you inject! Pat dry the exterior parts of the bird with any oil that escaped. Now you’re ready to deep fry!
Step 7: Utilizing the deep fryer kit, place the bird over the turkey rack and use the lifter hook to carry the bird to the deep fryer. We use one of the pans under the bird to help catch any creole drips as we carry out to the fryer. Once at 375–400-degree oil, gently lower the bird into the pot, straight down. Lower slowly until the turkey is fully rested on the bottom of the pot. Remove the hook and place the lid on the pot with the thermometer reader visible but submerged in the oil.
03 | Cooking + Watchin’
Step 8: The temperature regulation is the biggest thing to watch for during cook time. The best temperature to cook consistently is 350 degrees. So, as the temp drops with initial turkey placement, you want to rise it back up, then adjust the heat to stabilize at 350 degree range.
Tip: If you hover slightly below 350, you can tack on a few minutes of cook time to make up the difference. We suggest 2 min extra cook time (total) for every 10+ min of less than 350 degrees.
Cook Time: We suggest cooking 3.5 minutes per 1lb of bird, at 350-degree oil temperature.
04 | Removing:
Turn the heat off and pull the turkey straight up and out using the deep frying kit (included) hook. Place on the other secure cooking pan and carry inside, setting on counter/table to carve. Let turkey rest 3-5 minutes before cutting. We suggest cutting with an electric knife, but any carving knife will do. Let oil cool down (we sometimes leave it in the pot overnight) before disposing. Once the turkey is carved, dish up, and most of all…Enjoy!
Need More Guides?


![Top 50 Gun Belts on the Market Right Now [2025 Edition]](https://images.squarespace-cdn.com/content/v1/5d27f662dd7b3c000158a331/1721939075011-0KERAMBXHCOD5RZPGT8H/EDC_Range_c02_5783_MR.jpg)
